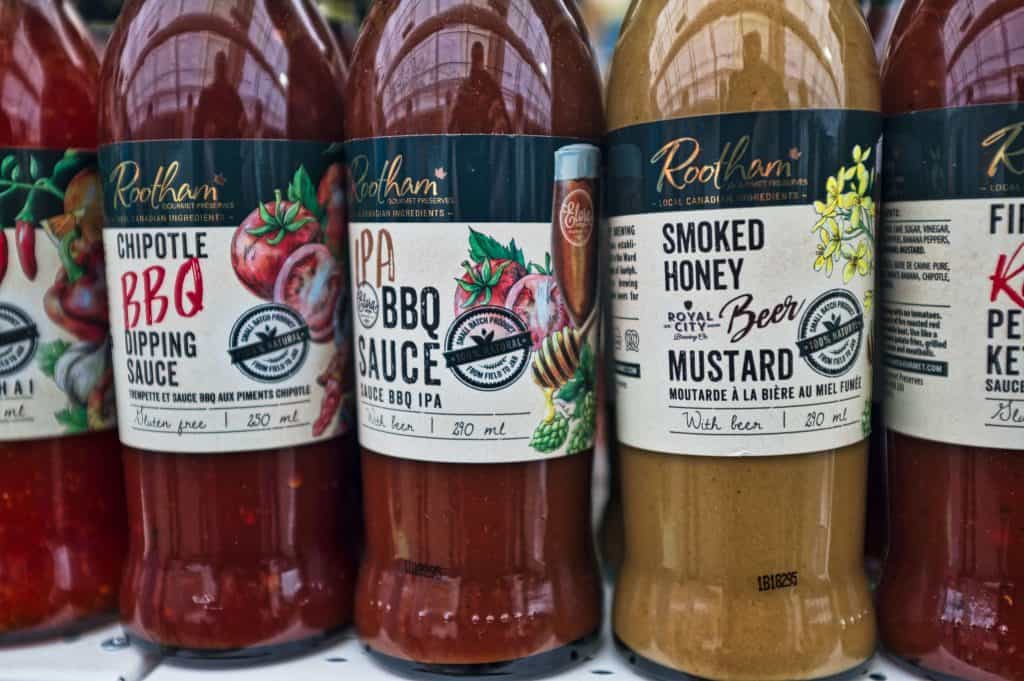
They can be found almost everywhere – on food products, cosmetics, packages and envelopes, clothing, and even electronic equipment. A small label makes a big difference!
Labels perform very important functions. They carry information about the product and producer, and more and more often they are the company’s identification mark and a strong marketing tool. In addition, they facilitate many tasks in office work, but also in everyday life. That is why it is worth knowing how to make a label on your own and without special programs.
Labels can be made of different materials, but the most common type are white, paper self-adhesive labels. They are commonly called stickers or stickers. We can put any text, graphic symbol, or barcode on such a label.
For more personalized projects, it is best to turn to a professional company. However, simpler and standard labels can be prepared by yourself or even printed on a home printer. There are many special programs available on the market for creating labels. However, we will focus on the simplest and most accessible tool, which probably everyone has at hand, the text editor MS Word.
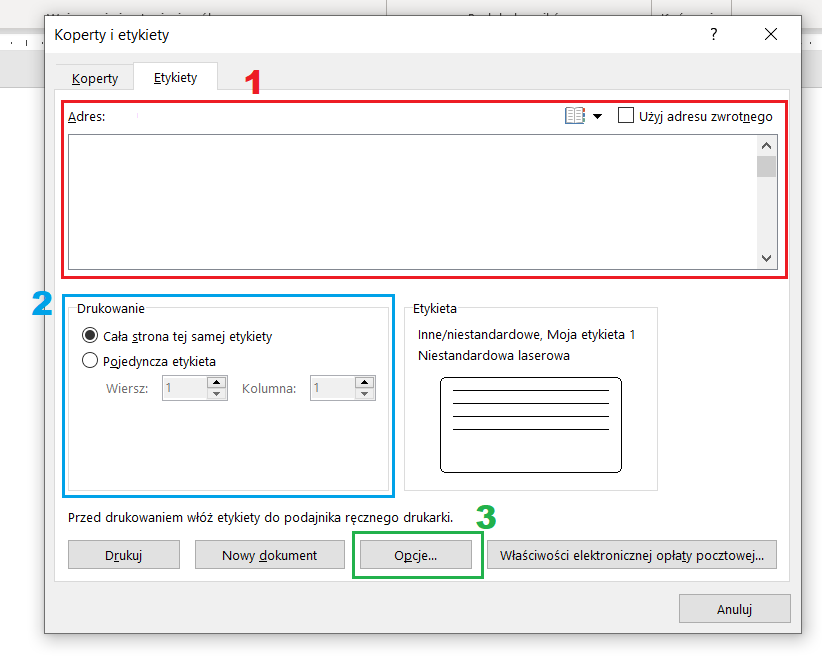
Open a new MS Word document and from the tabs choose Correspondence -> Labels . You will see window as below.
In Address field (1) you can type any text – it will appear on all labels. If you leave the field empty, you will be able to fill in the content of each label manually later.
In the Print (2) field, select the option Whole page of the same label – this will automatically fill the entire page with one label design.
Now click Options (3), where you can specify additional parameters or create your own custom label design. The following window will appear.
Here, in the Label Supplier field (1), you can select the manufacturer and the specific model of label sheet you want to print on from the drop-down list. If you do not know the supplier, but you know the dimensions, you can check the specifications of the specific variant in the Information (2a) or Details (2b). If, on the other hand, you need a custom solution, select New Label (3). A window will appear in which you can manually set all the parameters.
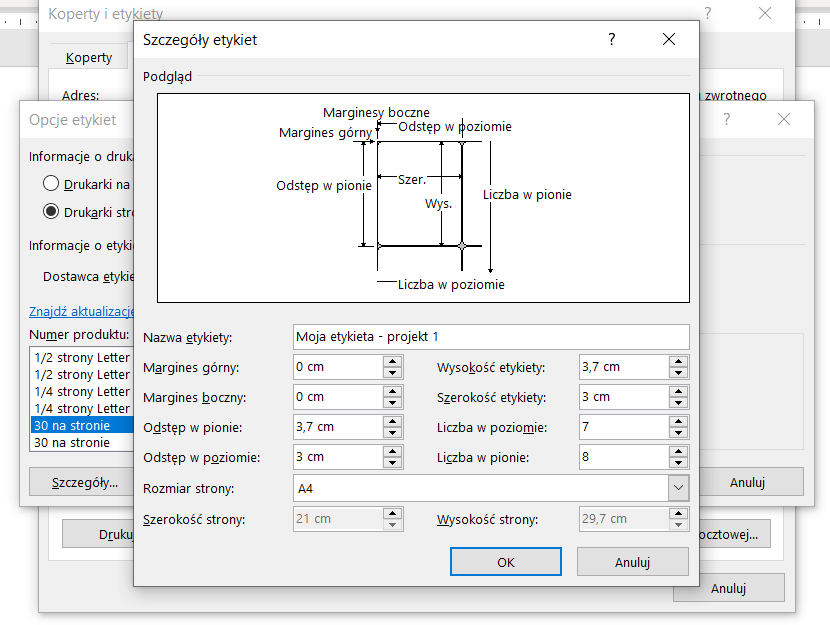
You can name your new label – it will be saved by the program under this name and added to the drop-down list of Label Suppliers in the Other/Nonstandard category. You can use it again at any time.
Next, select a page size – most often this will be A4.
The bottom and top margins for standard borderless labels can be set to 0 cm.
With this assumption and knowing your page dimensions, you can choose the size of your label and estimate how many pieces will fit on one page. For the purposes of this manual, we will enter the following values:
After setting the parameters, you can see a preview of a single label at the top of the editing window.
The last value left to specify is the vertical and horizontal spacing. Contrary to what logic might suggest, these are not the spacing between labels. By spacing, the editor means the space between the starting edge of one label and the starting edge of the next label (that is, the space between labels + the width or height of one label). To ensure that there are no gaps between labels, you must set the spacing equal to the height and width of one label, i.e:
If you have entered all the values correctly, you can confirm your design by clicking OK. Then confirm your label selection and select New Documentin the next window.
Word will generate a text file with your labels, which you can edit in the Main Tools and the tools available on the Layout tab. If you want to add a graphic element to your label, simply select the option you want on the Insert tab.
To print your finished design, click File -> Print. In the print options, you can additionally select custom page and margin parameters to make sure that the whole thing prints without problems. Remember to do a test print on plain paper before loading the label sheet into the printer to make sure that your design matches the layout and dimensions of the labels.