Preparing a file for large format printing is a very important issue that has its own rules. If you want the design to meet your expectations, you need to consider a few guidelines.
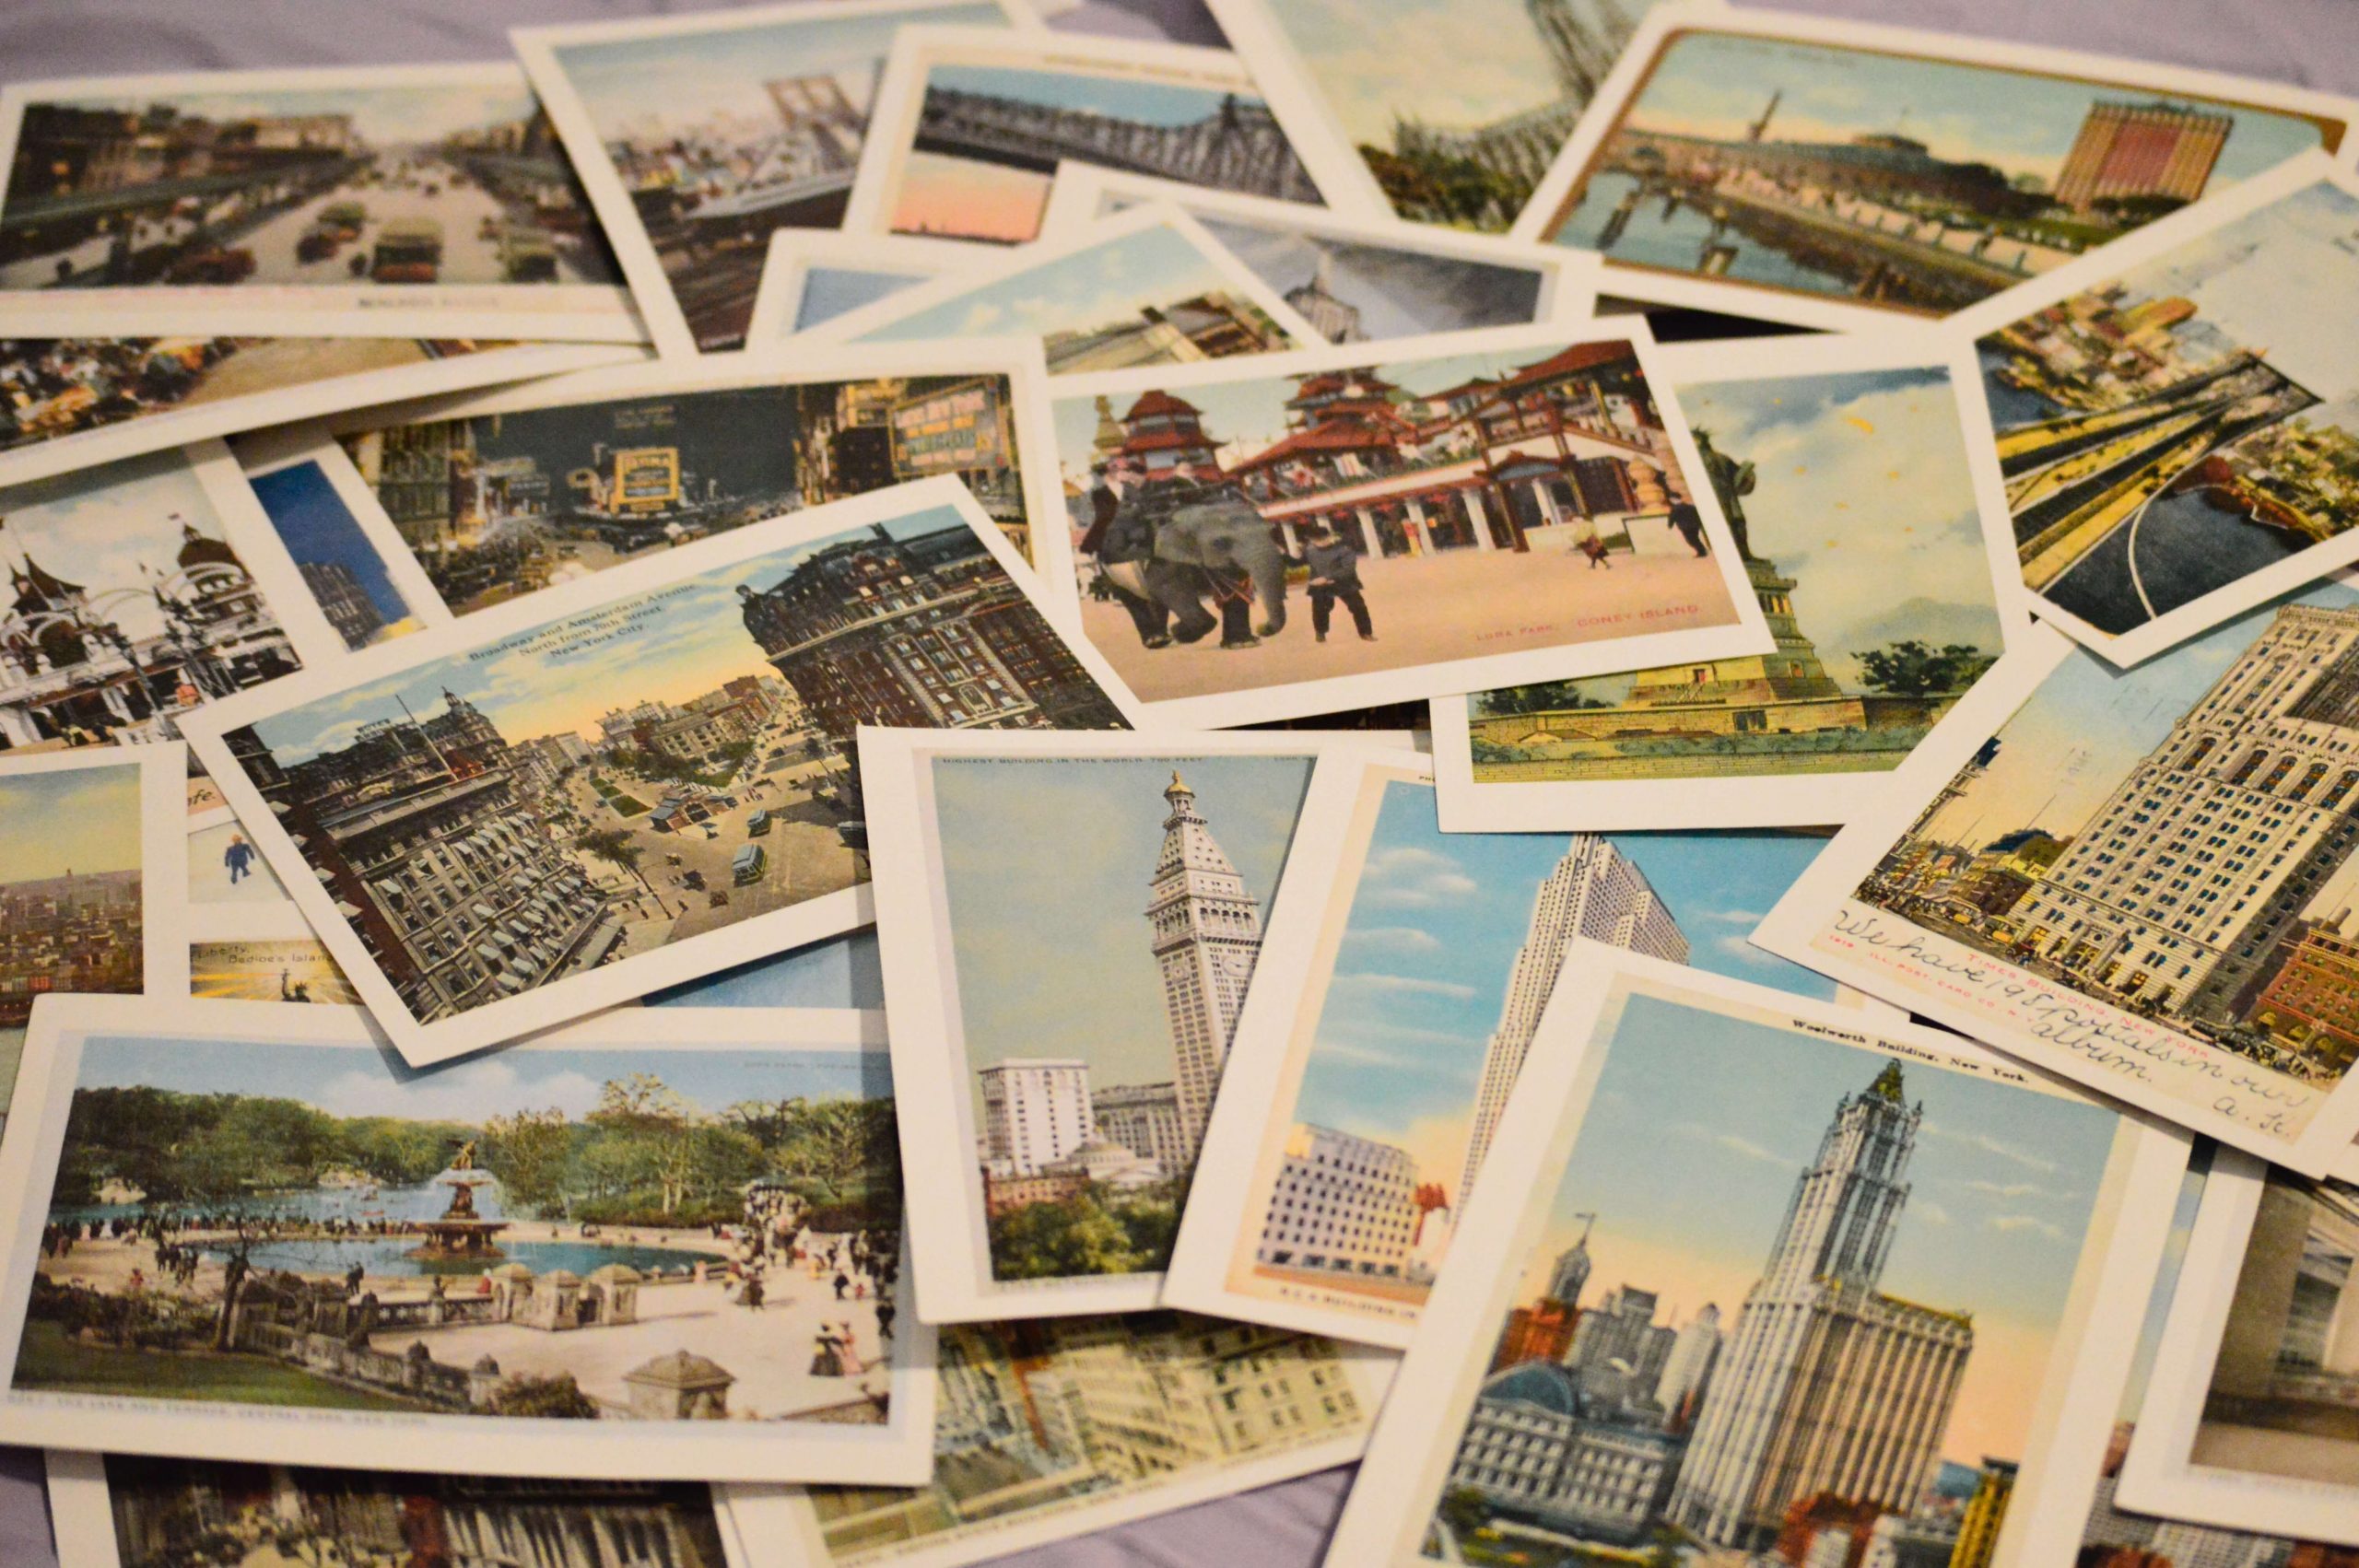
Large format printing has great technical capabilities and affordable price. Modern printing technologies make it possible to apply high-resolution images to sheet and roll materials, but to obtain satisfactory final results the graphic designer must take into account several issues while creating the design file for printing.
Specifications for files intended for large format printing usually include information such as format, colors and fonts, bleeds and die cuts. Large format printing houses make such guidelines available on their websites, so it’s worth getting acquainted with them beforehand in order to avoid sending an inappropriate file. In such a situation the printout may be of lower quality or differ significantly from the assumptions of the digital project, for which the printing house is not responsible
Raster graphics (bitmaps) are created from multiple pixels. This means that once an image of a certain size (with a certain number of pixels) has been created, it cannot be scaled without loss of quality. File sizes for raster graphics can be very large, given that each pixel stores data.
Vector graphics, on the other hand, create designs using mathematical equations. These equations are translated into points, which are then connected by straight lines or curves. The result is multiple vector paths that combine to create a vector image.
Depending on the type of graphic, the requirements for the print file may be a little different.

Vector files are best prepared in a universal and convenient PDF format weighing no more than 200 Mb. Depending on the size of your project, you can save it at a scale of 1:1 (which is the actual size), 1:10 or 1:25 (for the largest sizes)
When creating a graphic, make sure that all of its elements are in the workspace. If your design has a white background, you will need to create a thin yellow technology frame to delineate its boundaries. Your design should not contain any unnecessary elements that will not be used during printing, such as explanatory text, dimensions, etc.
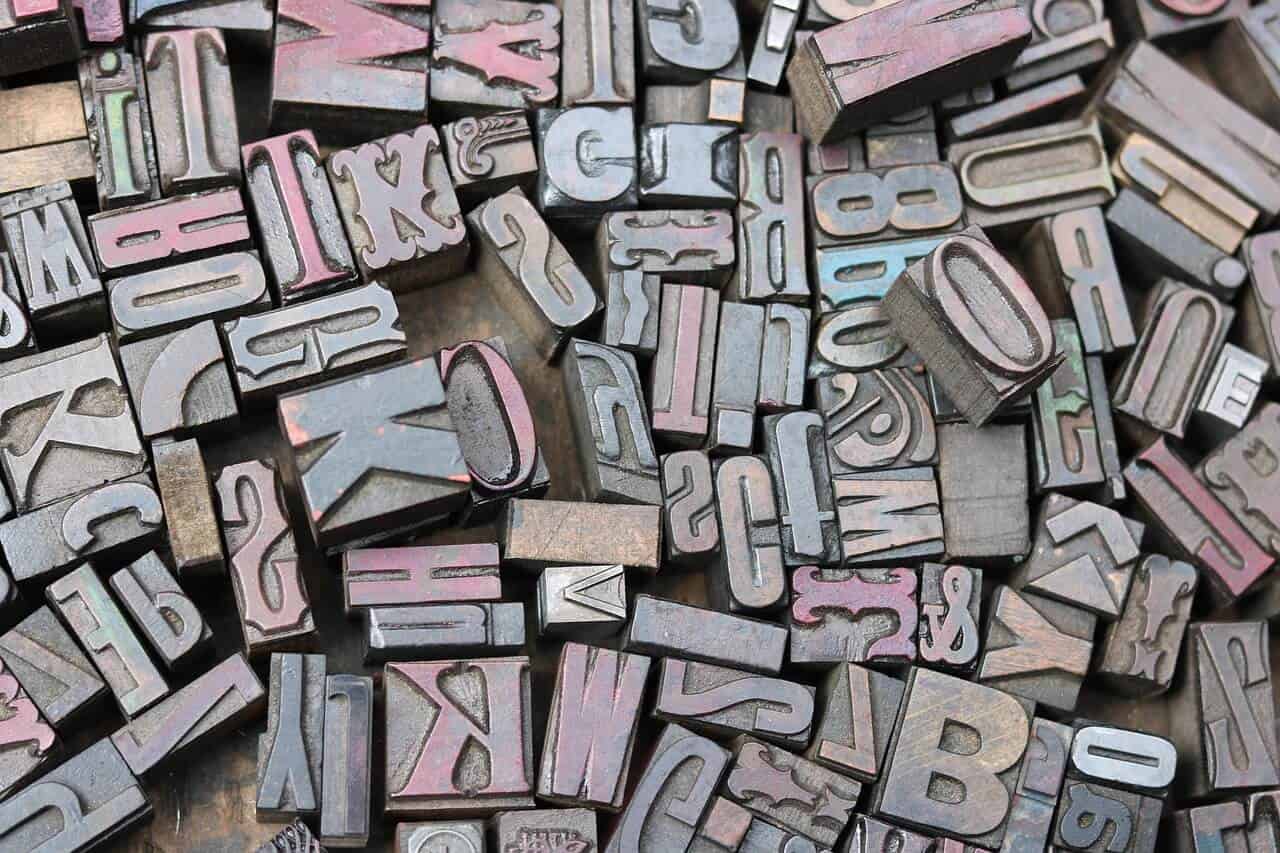
Remember to convert all fonts to curves. For multi-page projects, each page must be saved as a separate file.
The most commonly required format for raster graphics is .tiff or .pdf. Files should be prepared at a scale of 1:1 and must not exceed 200 Mb in size. Layers should be flattened.
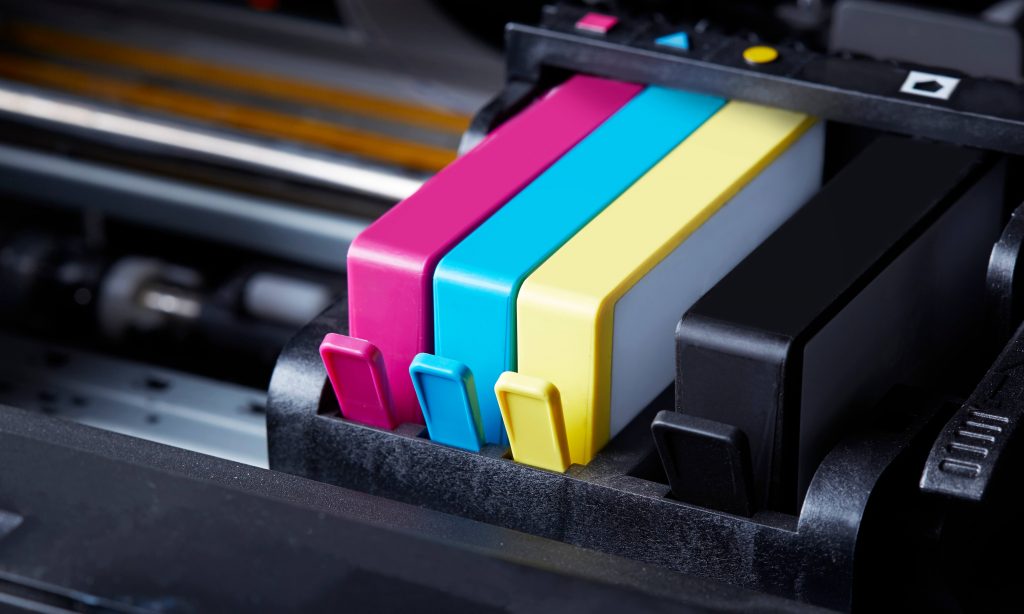
Regardless of the type of graphic your files should be prepared in CMYK color model.
When thinking about print quality, you should focus on the PPI value, often confused with DPI. PPI stands forpixels per inch and describes the resolution of the file to be printed.
For large format prints the main criterion for determining the resolution should be the distance from which the image will be viewed:
So the rule of thumb is simple – the farther away from the viewer the project is placed, the lower the resolution can be.
Your files should be prepared in CMYK color model. If you use RGB, the printer will convert it to CMYK, but usually at the expense of color quality, and thus the entire project. In this situation the color discrepancy can be significant.
You also need to set an appropriate overcolouring, i.e. a total percentage of ink coverage of particular points in the project. It should not exceed 300%. The choice of these parameters must also depend on the type of medium on which you plan to print.
For a deep black effect, a combination of: C – 40%, M – 30%, Y – 30%, K – 100%.
Too high inking density can result in too slow drying of the ink and its dripping from the substrate or cracking after drying.
To avoid the appearance of unwanted white borders on your print, you need to include bleeds, which is a 3mm allowance that exceeds the cut line of your product. The net format of the design is the target format, and the gross format with the bleeds. In addition to bleeds, it will be useful – especially when cutting with a guillotine – to have safety margins, which is about 5 mm of space between important graphic elements and the design frame.
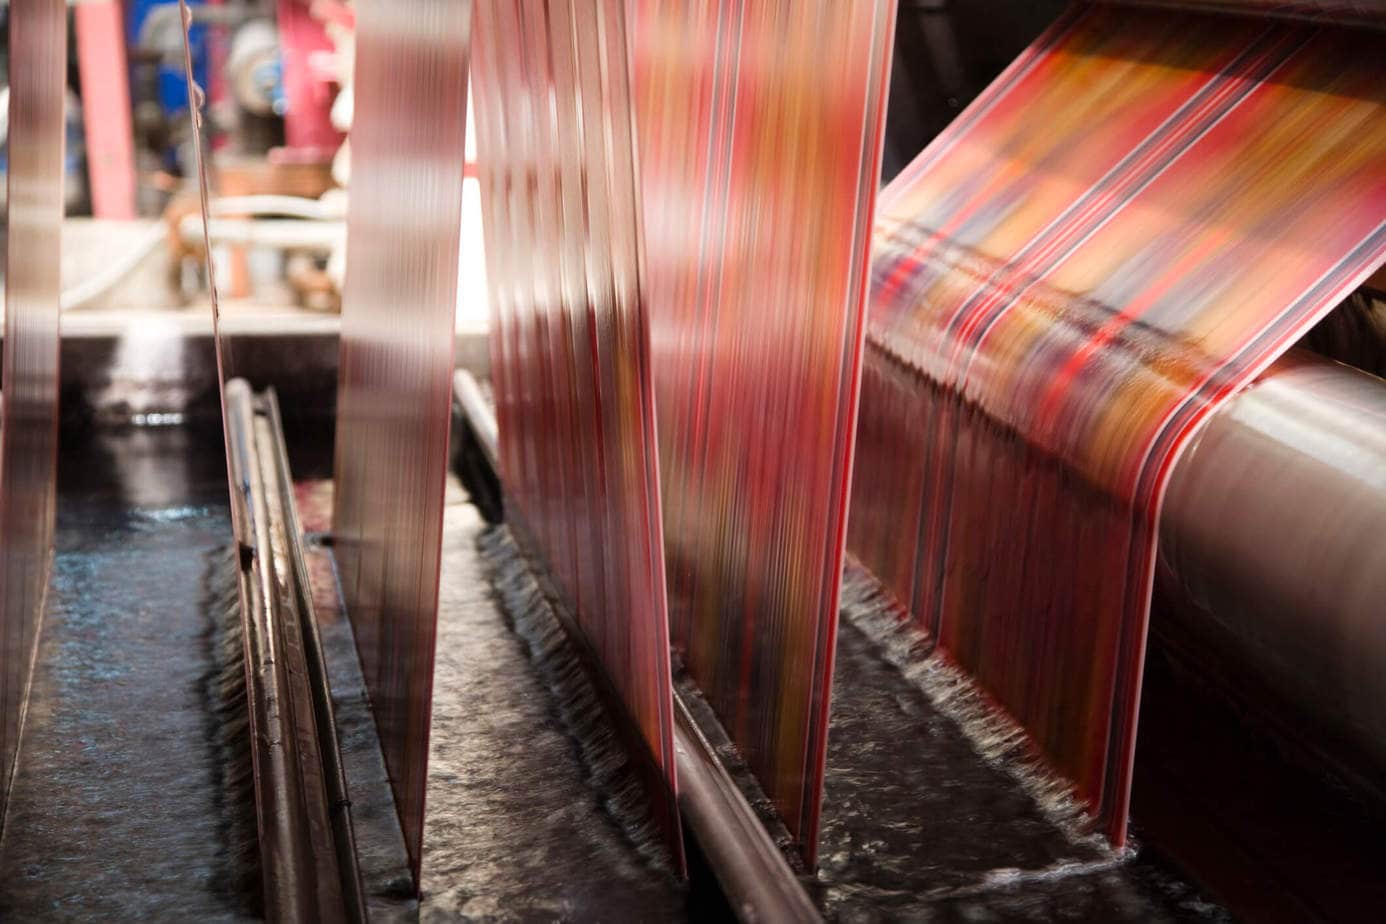
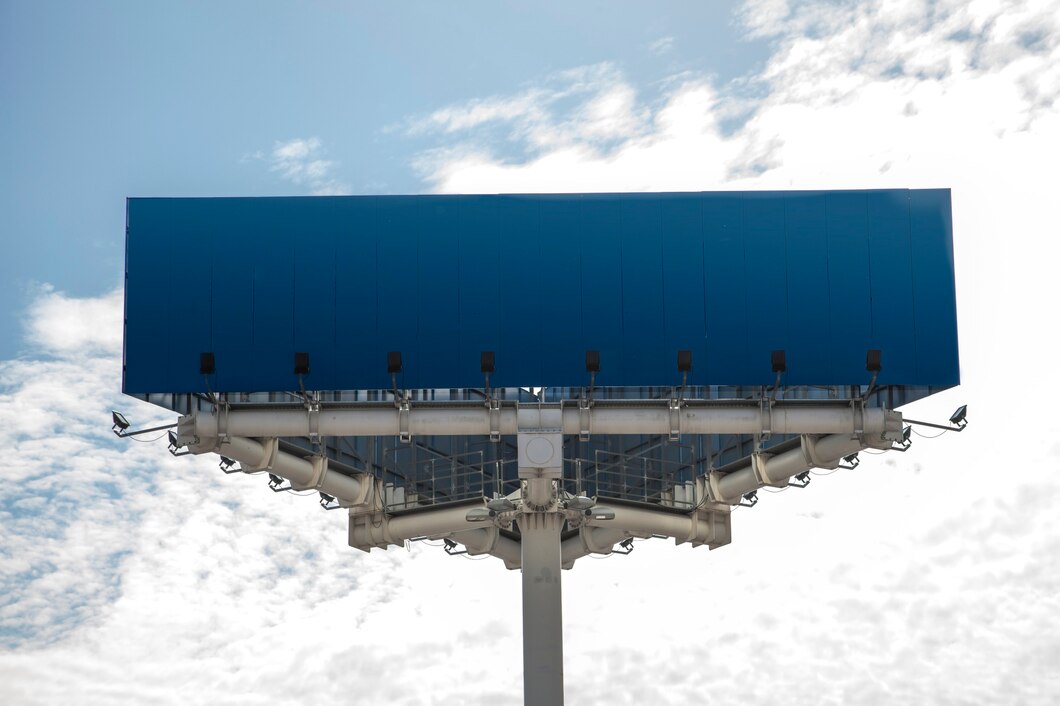
When starting to create the project, consider the specifics and parameters of the medium on which you want to print. Banners, mesh, seam tunnels, self-adhesive paper, citylights – there are many possibilities, and each project requires an appropriate approach. If you have problems with the preparation of the file, ask for help the printing house to which you plan to outsource printing.