Photobooks are graphic publications that offer a wealth of possibilities for creating a creative and robust chronicle of our most precious memories.
In contrast to the classic album, the photo book does not require you to glue your images on or insert them into special “windows”. You can choose not only the photographs you want to include, but also the colors and design of the pages, the printing paper, the size of the book and the cover. This means that from start to finish, we decide what the final project will look like.
In our grandparents’ time, photography as an art form was an expensive and rare pleasure. Only the truly special moments of life were captured in photographs. Such keepsakes were meticulously preserved and passed down from generation to generation.
When analog photography became common, our home albums began to burst at the seams with pictures taken at various occasions – family or school events, trips and excursions. But the ability to take pictures was still limited by the number of frames on the camera’s film.
Digital photography has removed all limits from us. We can take pictures at any time of day or night, at any moment. And indeed, we like to capture everything, and our photos usually end up in folders on the computer that we rarely look at. However, we must remember that every device and every digital data carrier must break down at some point, and then we say goodbye to our memories forever.
This is where the photo book comes in, the new generation photo album.
Because photo books are made to order, each one is different and unique. Album designs can vary in many ways.
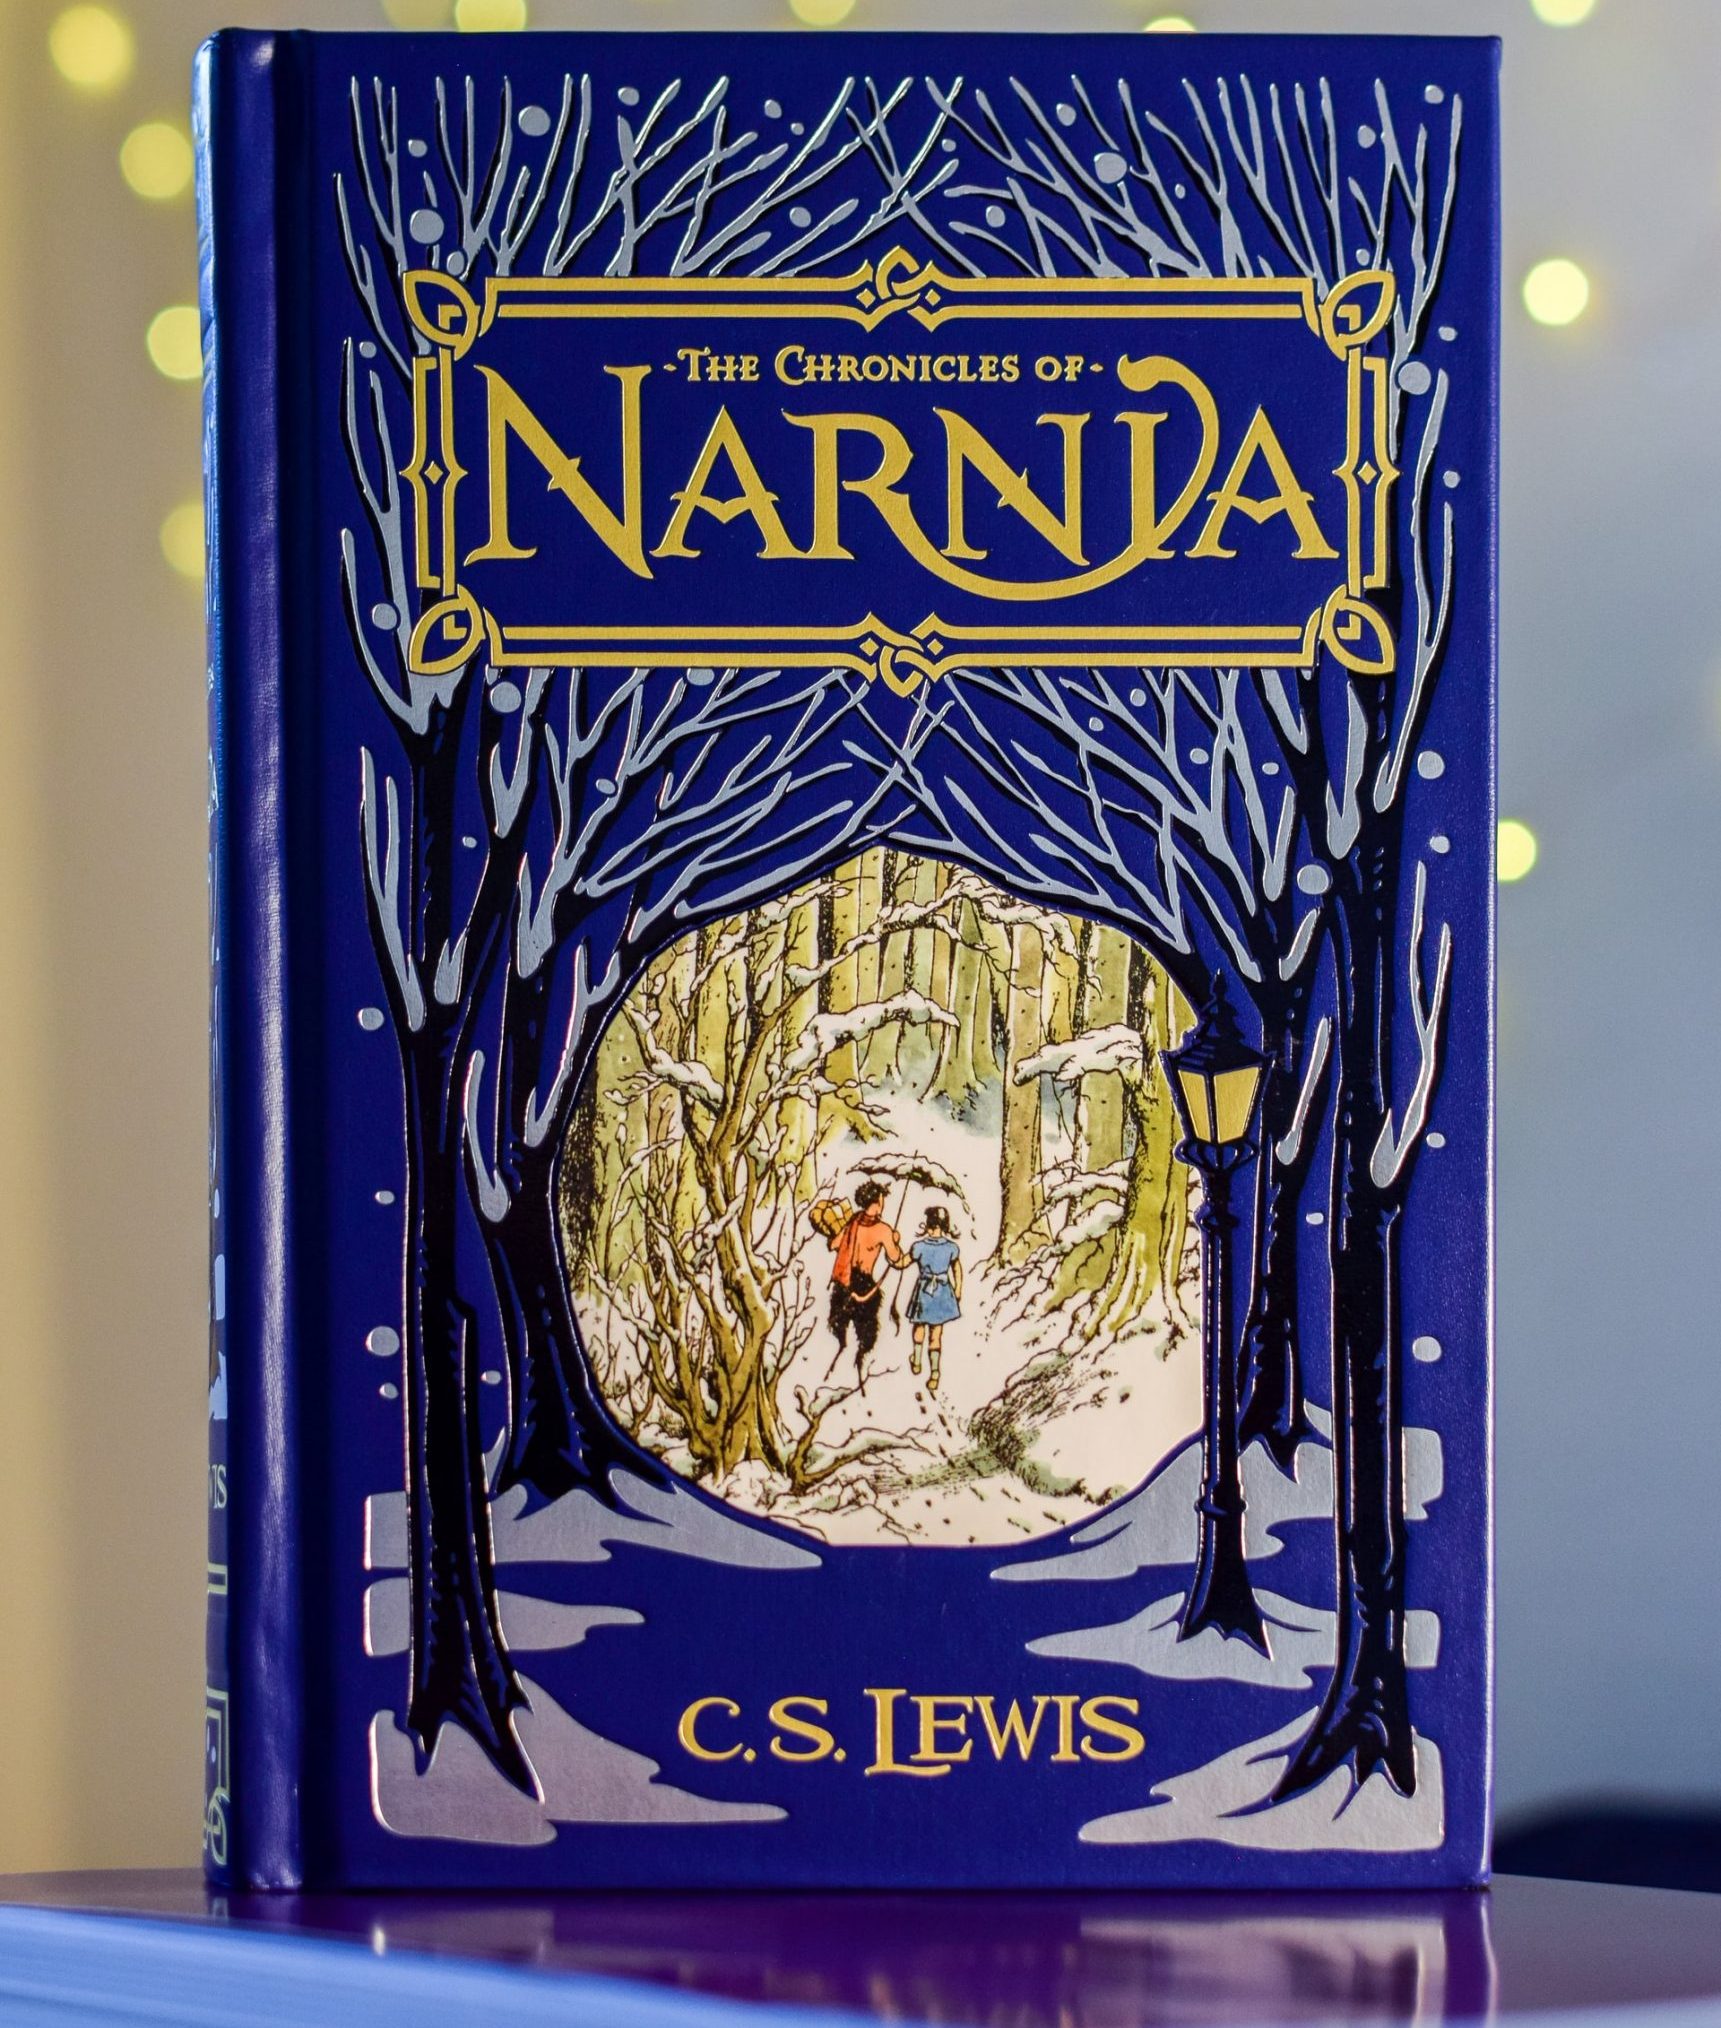
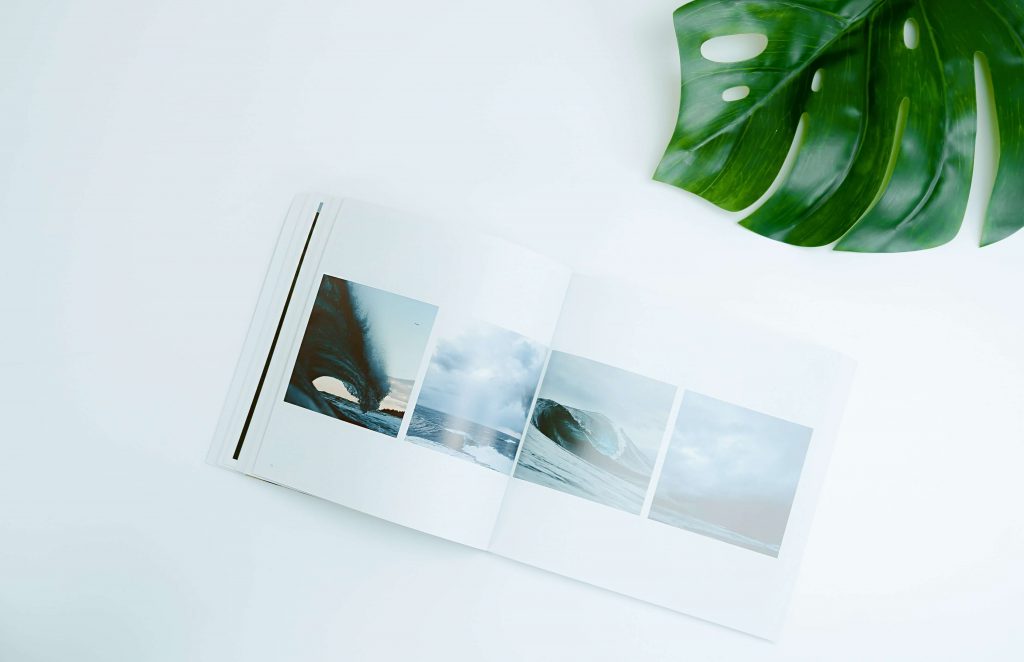
Size and shape. The photo books can be very small, the standard A4 size, as well as larger ones, even 40 × 30 cm. They can be square or rectangular in portrait or landscape orientation (panoramic).
Printing technique and paper. Basically we have two options here. Firstly the digital printing in the variant of matt and glossy. It is fast and relatively inexpensive way to print photos in very high quality. Secondly, photos on photo paper, also in matte and glossy versions. This technique is based on exposing the paper as in traditional photo development and allows you to achieve even higher quality.
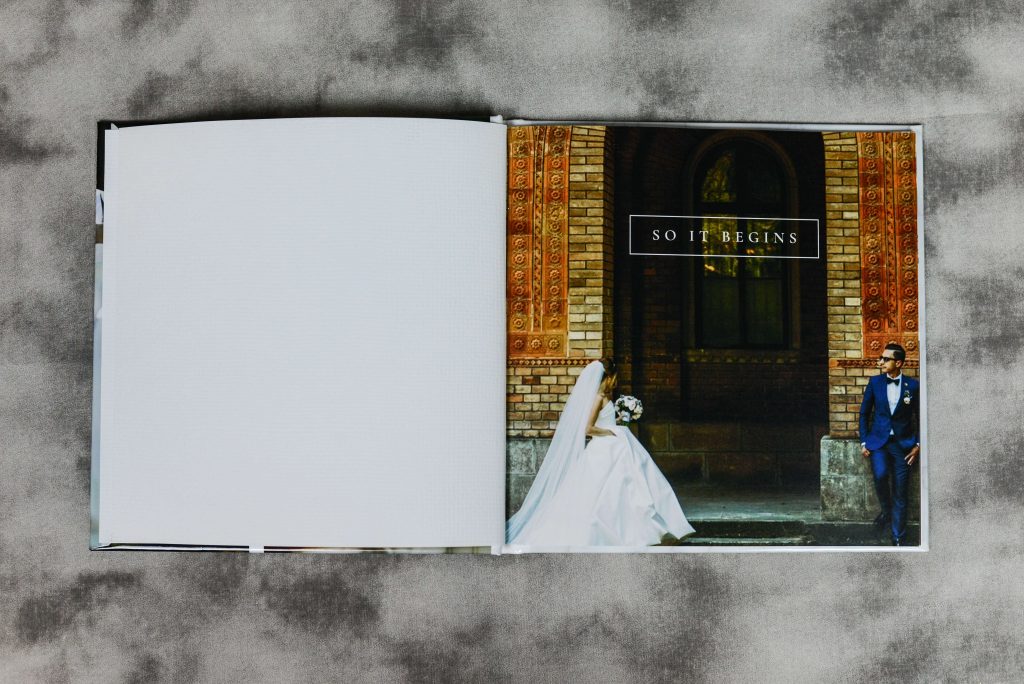
Interior and pages. This is where the choice of photos matters, but also their layout and arrangement on individual pages. You can decide whether you want to frame them or place additional decorative elements and text on the pages of your photo book – descriptions of captured memories, dates, quotes, wishes, or confessions. Photobook pages can be reinforced with cardboard to make them more durable, covered with glossy or matte laminate, or even varied with different textured papers.
Cover. Here, too, there is a lot of choice. Covers can be soft, hard, with a glossy finish. They can also be made of fabric or faux leather. When it comes to colors, the possibilities are endless. We can even print a photo or photos on the cover of our book.
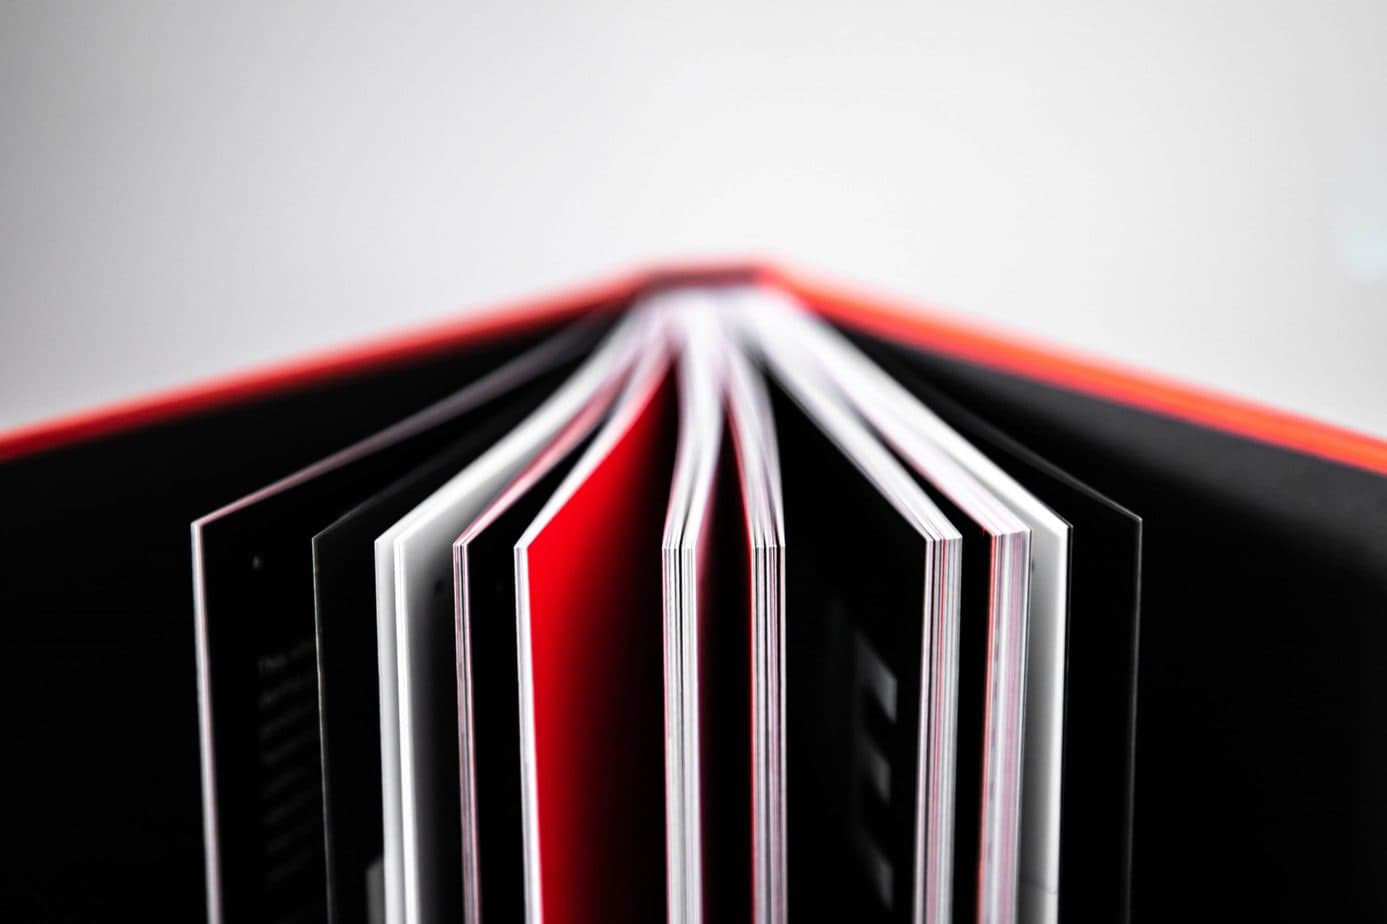
Combining sheets. Books can be binded classically or flat. Flat binding allows you to fully open the book to a width of 180 degrees, which in turn gives you the opportunity to print one photo on the entire spread.
Themes. A photo book can, but of course does not have to, be tied together by a main theme or motif. There can be wedding books, family books, children’s books, pregnancy books, anniversary books, reportage books, travel books, or books that tell the story of someone’s relationship.
As you can see, the possibilities are enormous. In fact, we can turn any photographic material into a beautiful and unique photo book.
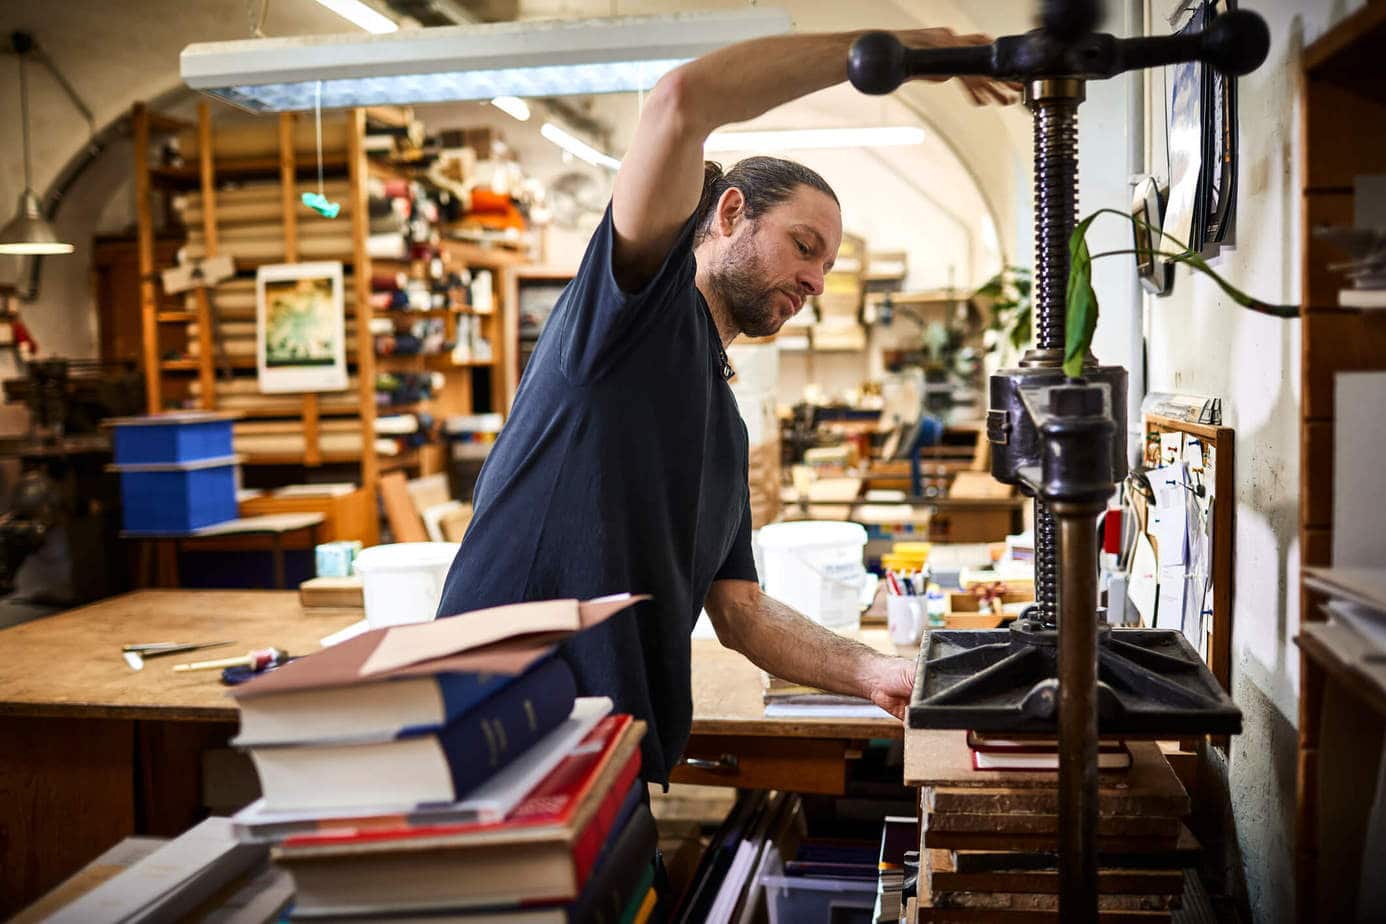
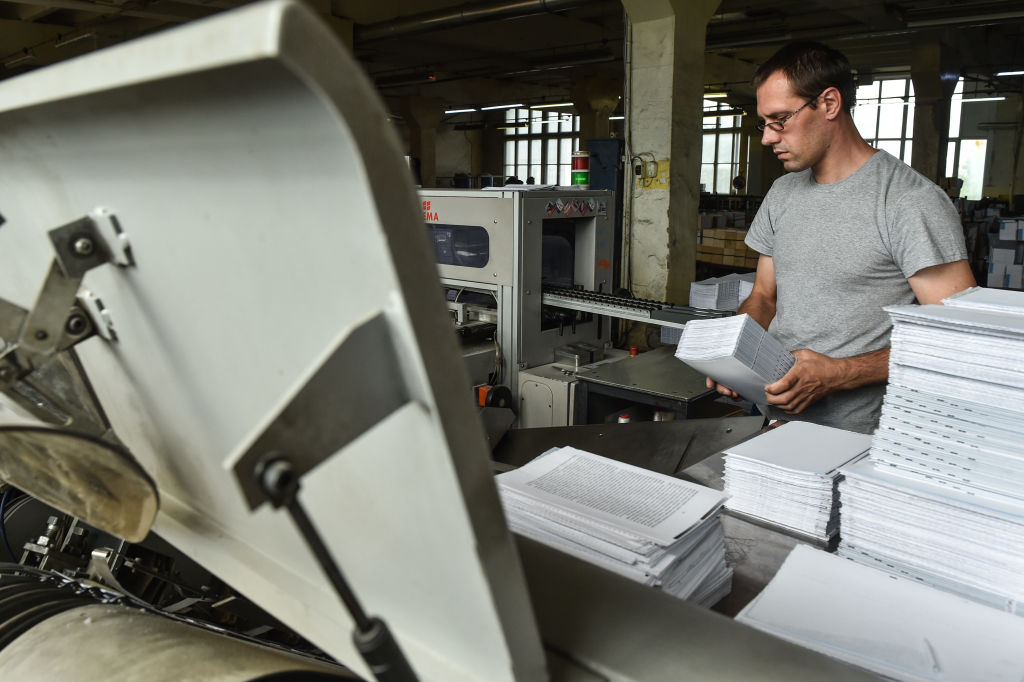
Of course, it is best to outsource the printing and binding to professionals. However, you can do it yourself without leaving your home. There are many free programs available online that offer hundreds of templates. Many of them are provided directly by companies printing photo books, so the finished project can be sent to print right away.
And below are some tips on how to prepare your design:
Photo books are printed on modern equipment, so the images are high resolution and retain their presentable appearance for several decades. It’s a great way to preserve precious moments in your life, as well as an original idea for a special gift for a loved one.